A super-cheap {albeit ugly} Goodwill score became a super-cute {and cheap} addition to my daughter’s bedroom. Read on to see the before and after pics, and find out how I did it…
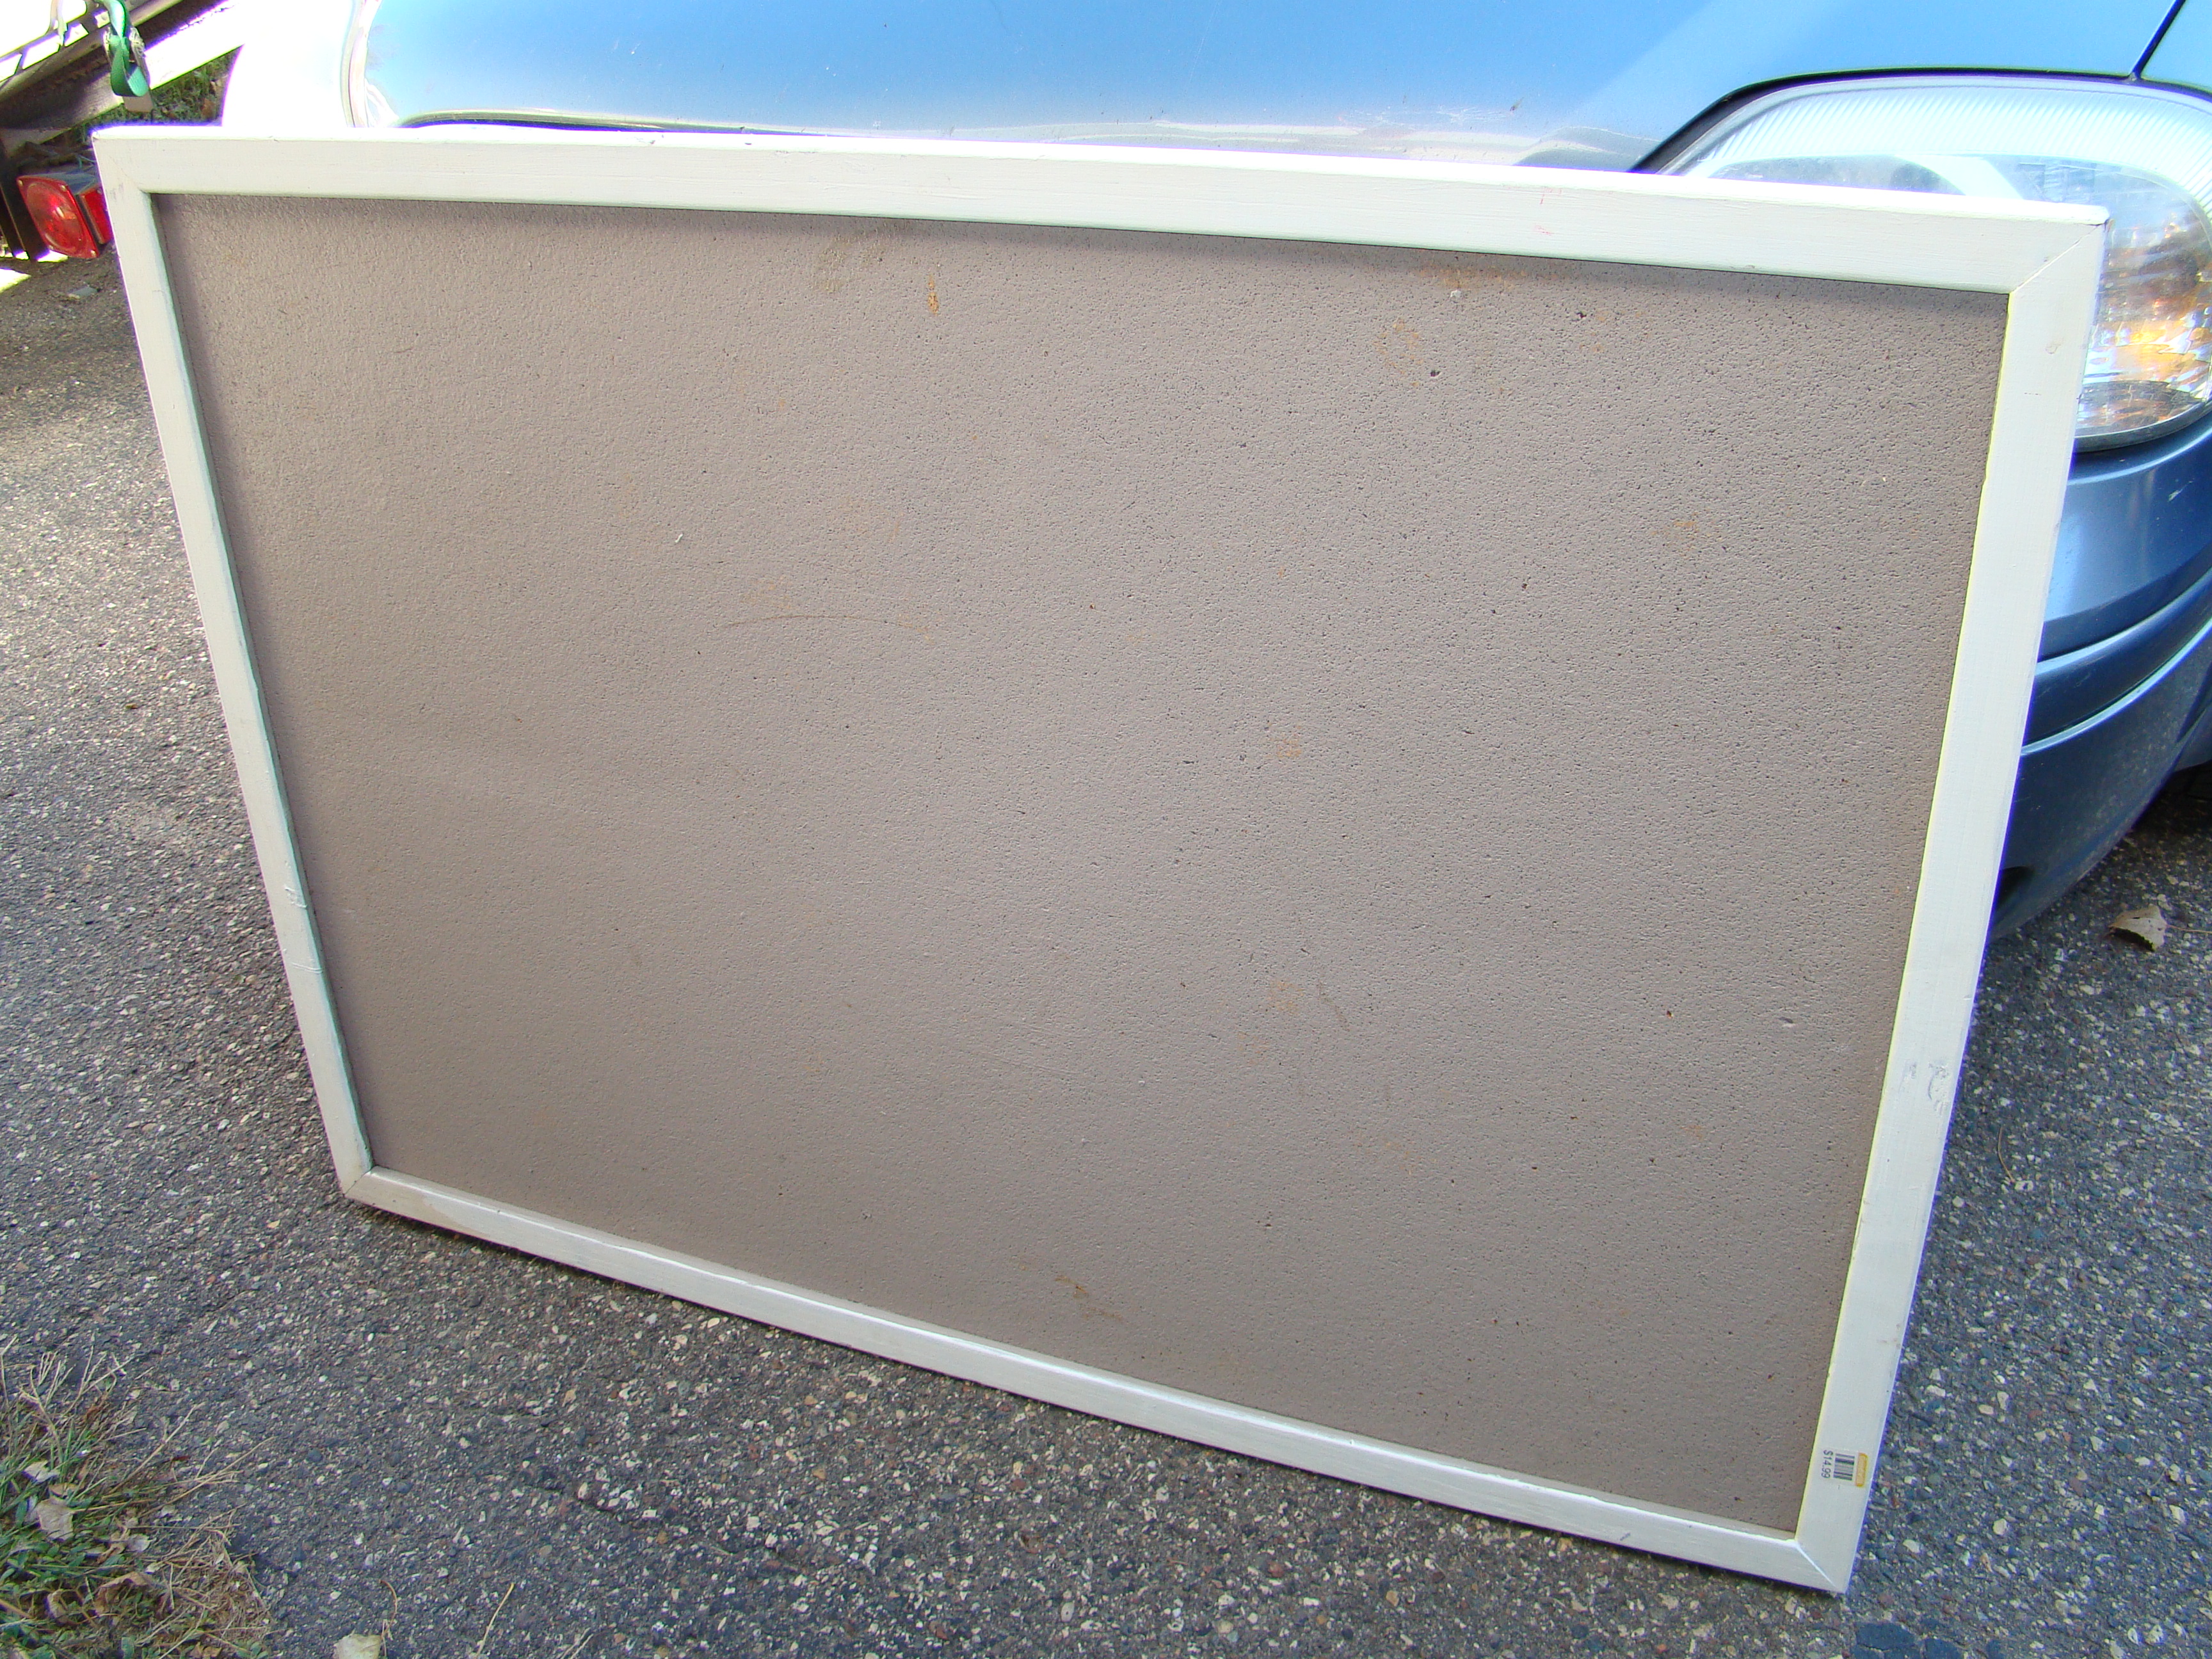
I found this little gem on a Goodwill hunt last fall, and I thought it would be perfect for my daughter’s bedroom. She’s a bit of an artist (can’t imagine where she gets any creativity from), and is always tacking things to her doors and walls. I figured a new bulletin board would not only thrill her, but it would save her walls from certain destruction before she turns 18. It certainly wasn’t the prettiest bulletin board I’d ever seen. It looked like it had been hanging in an office somewhere for years and years.
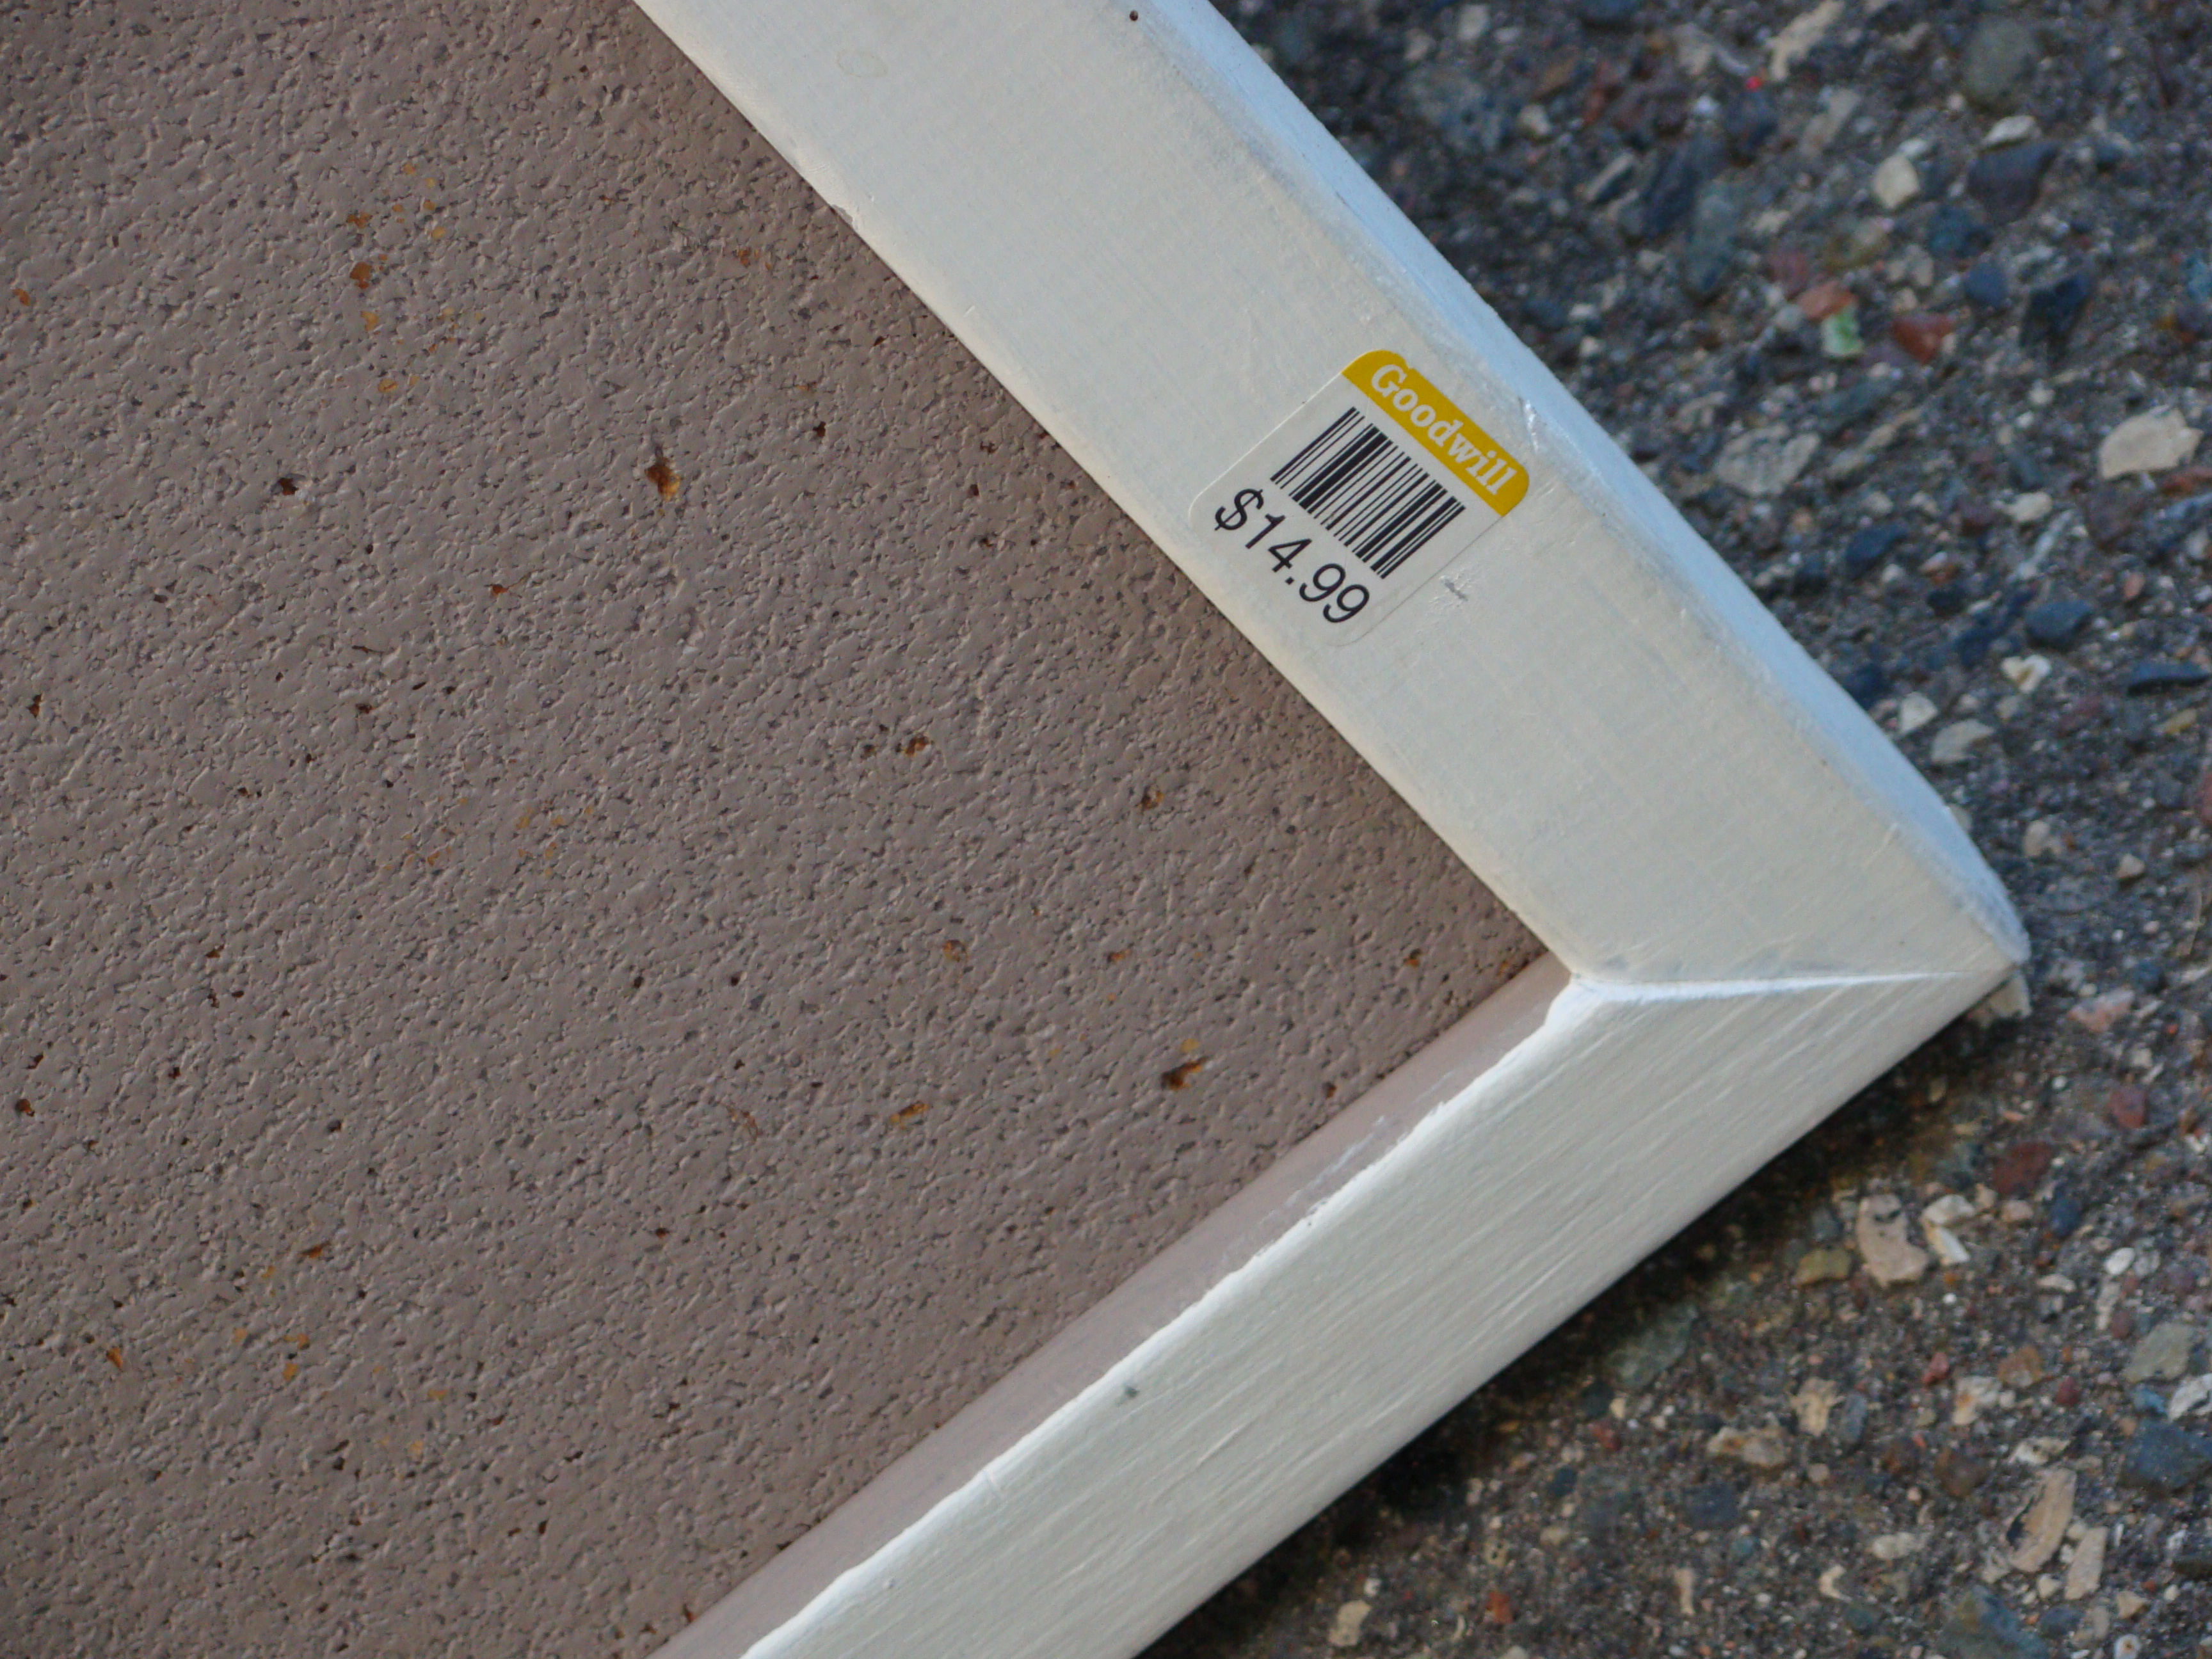
Yup – just $14.99. Or, so you’d think. I happened to be at Goodwill on a yellow-tag sale day, and scored this bad boy for just $1.49! I hurried out to my car, sure they would come running after me to get the rest of their money. They didn’t. 🙂 A new bulletin board of this size would have cost me $40 at an office supply store…at least! And, this one is well-made and durable.
After wiping down the wood, I primed and painted it a lovely shade of pink. The oil-based paint I used was left over from another furniture painting project for my daughter’s room, and I also used it on a vanity I recently refinished. Two coats of paint covered the wood frame perfectly.
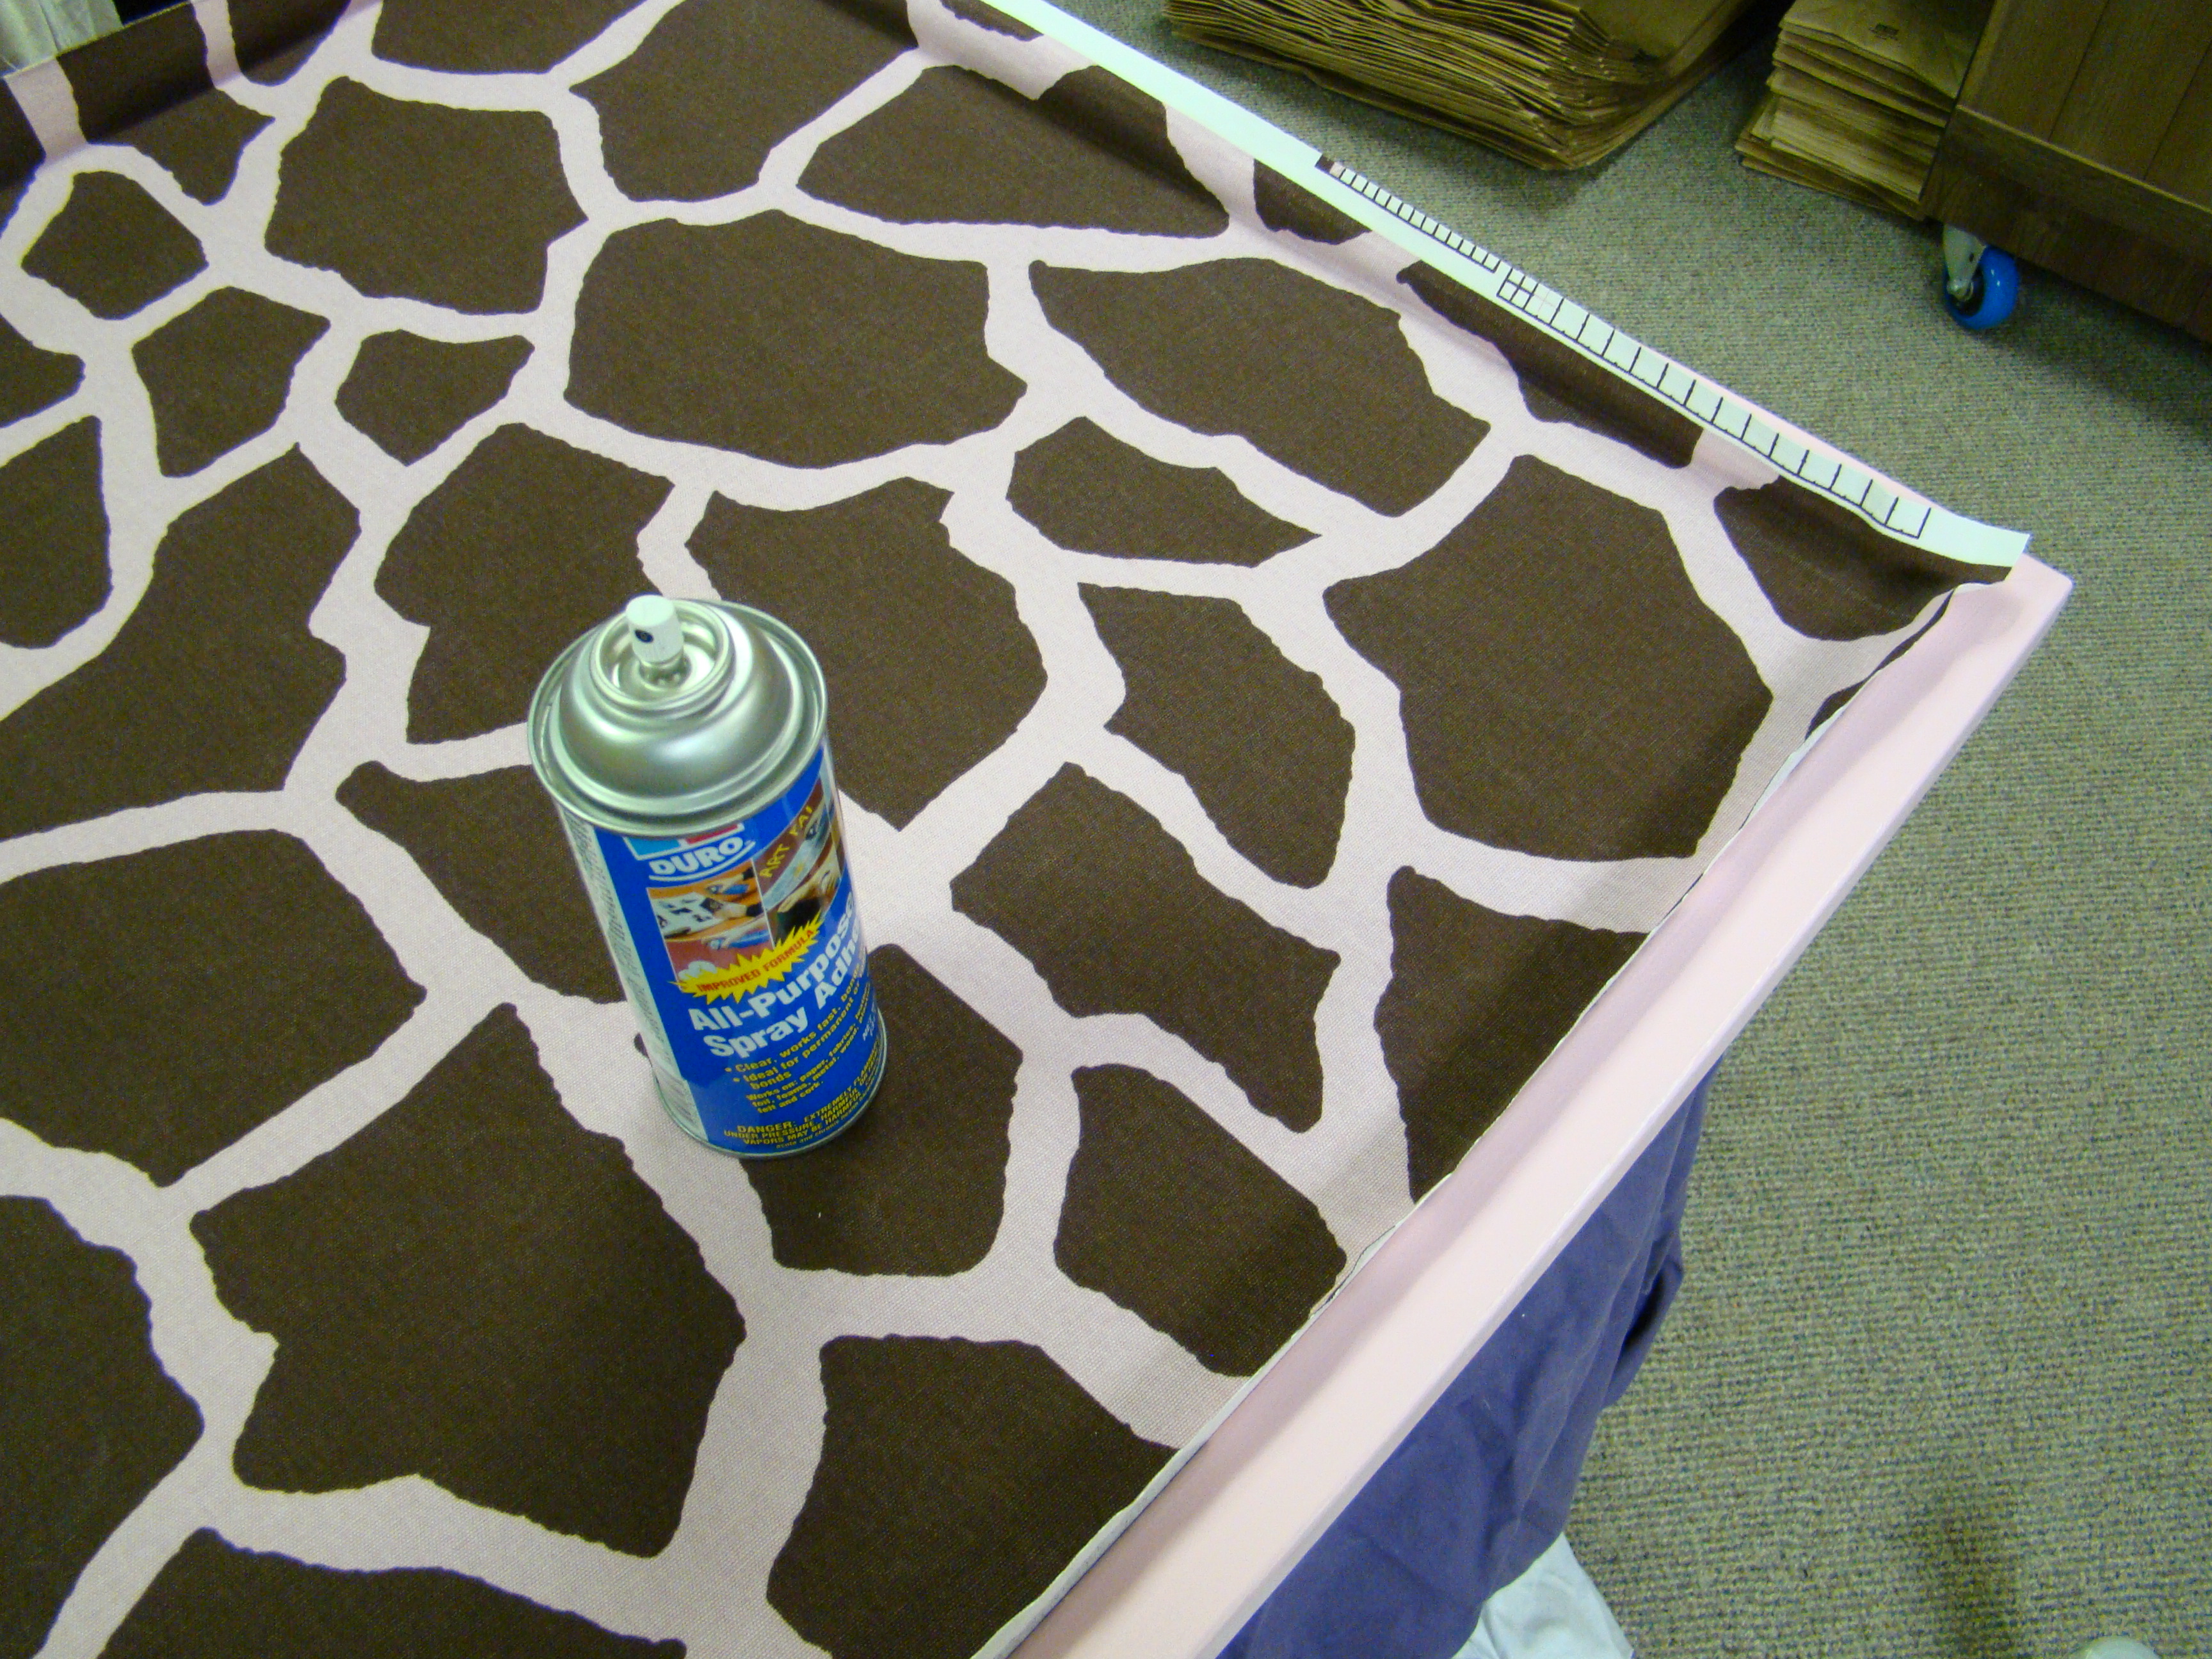
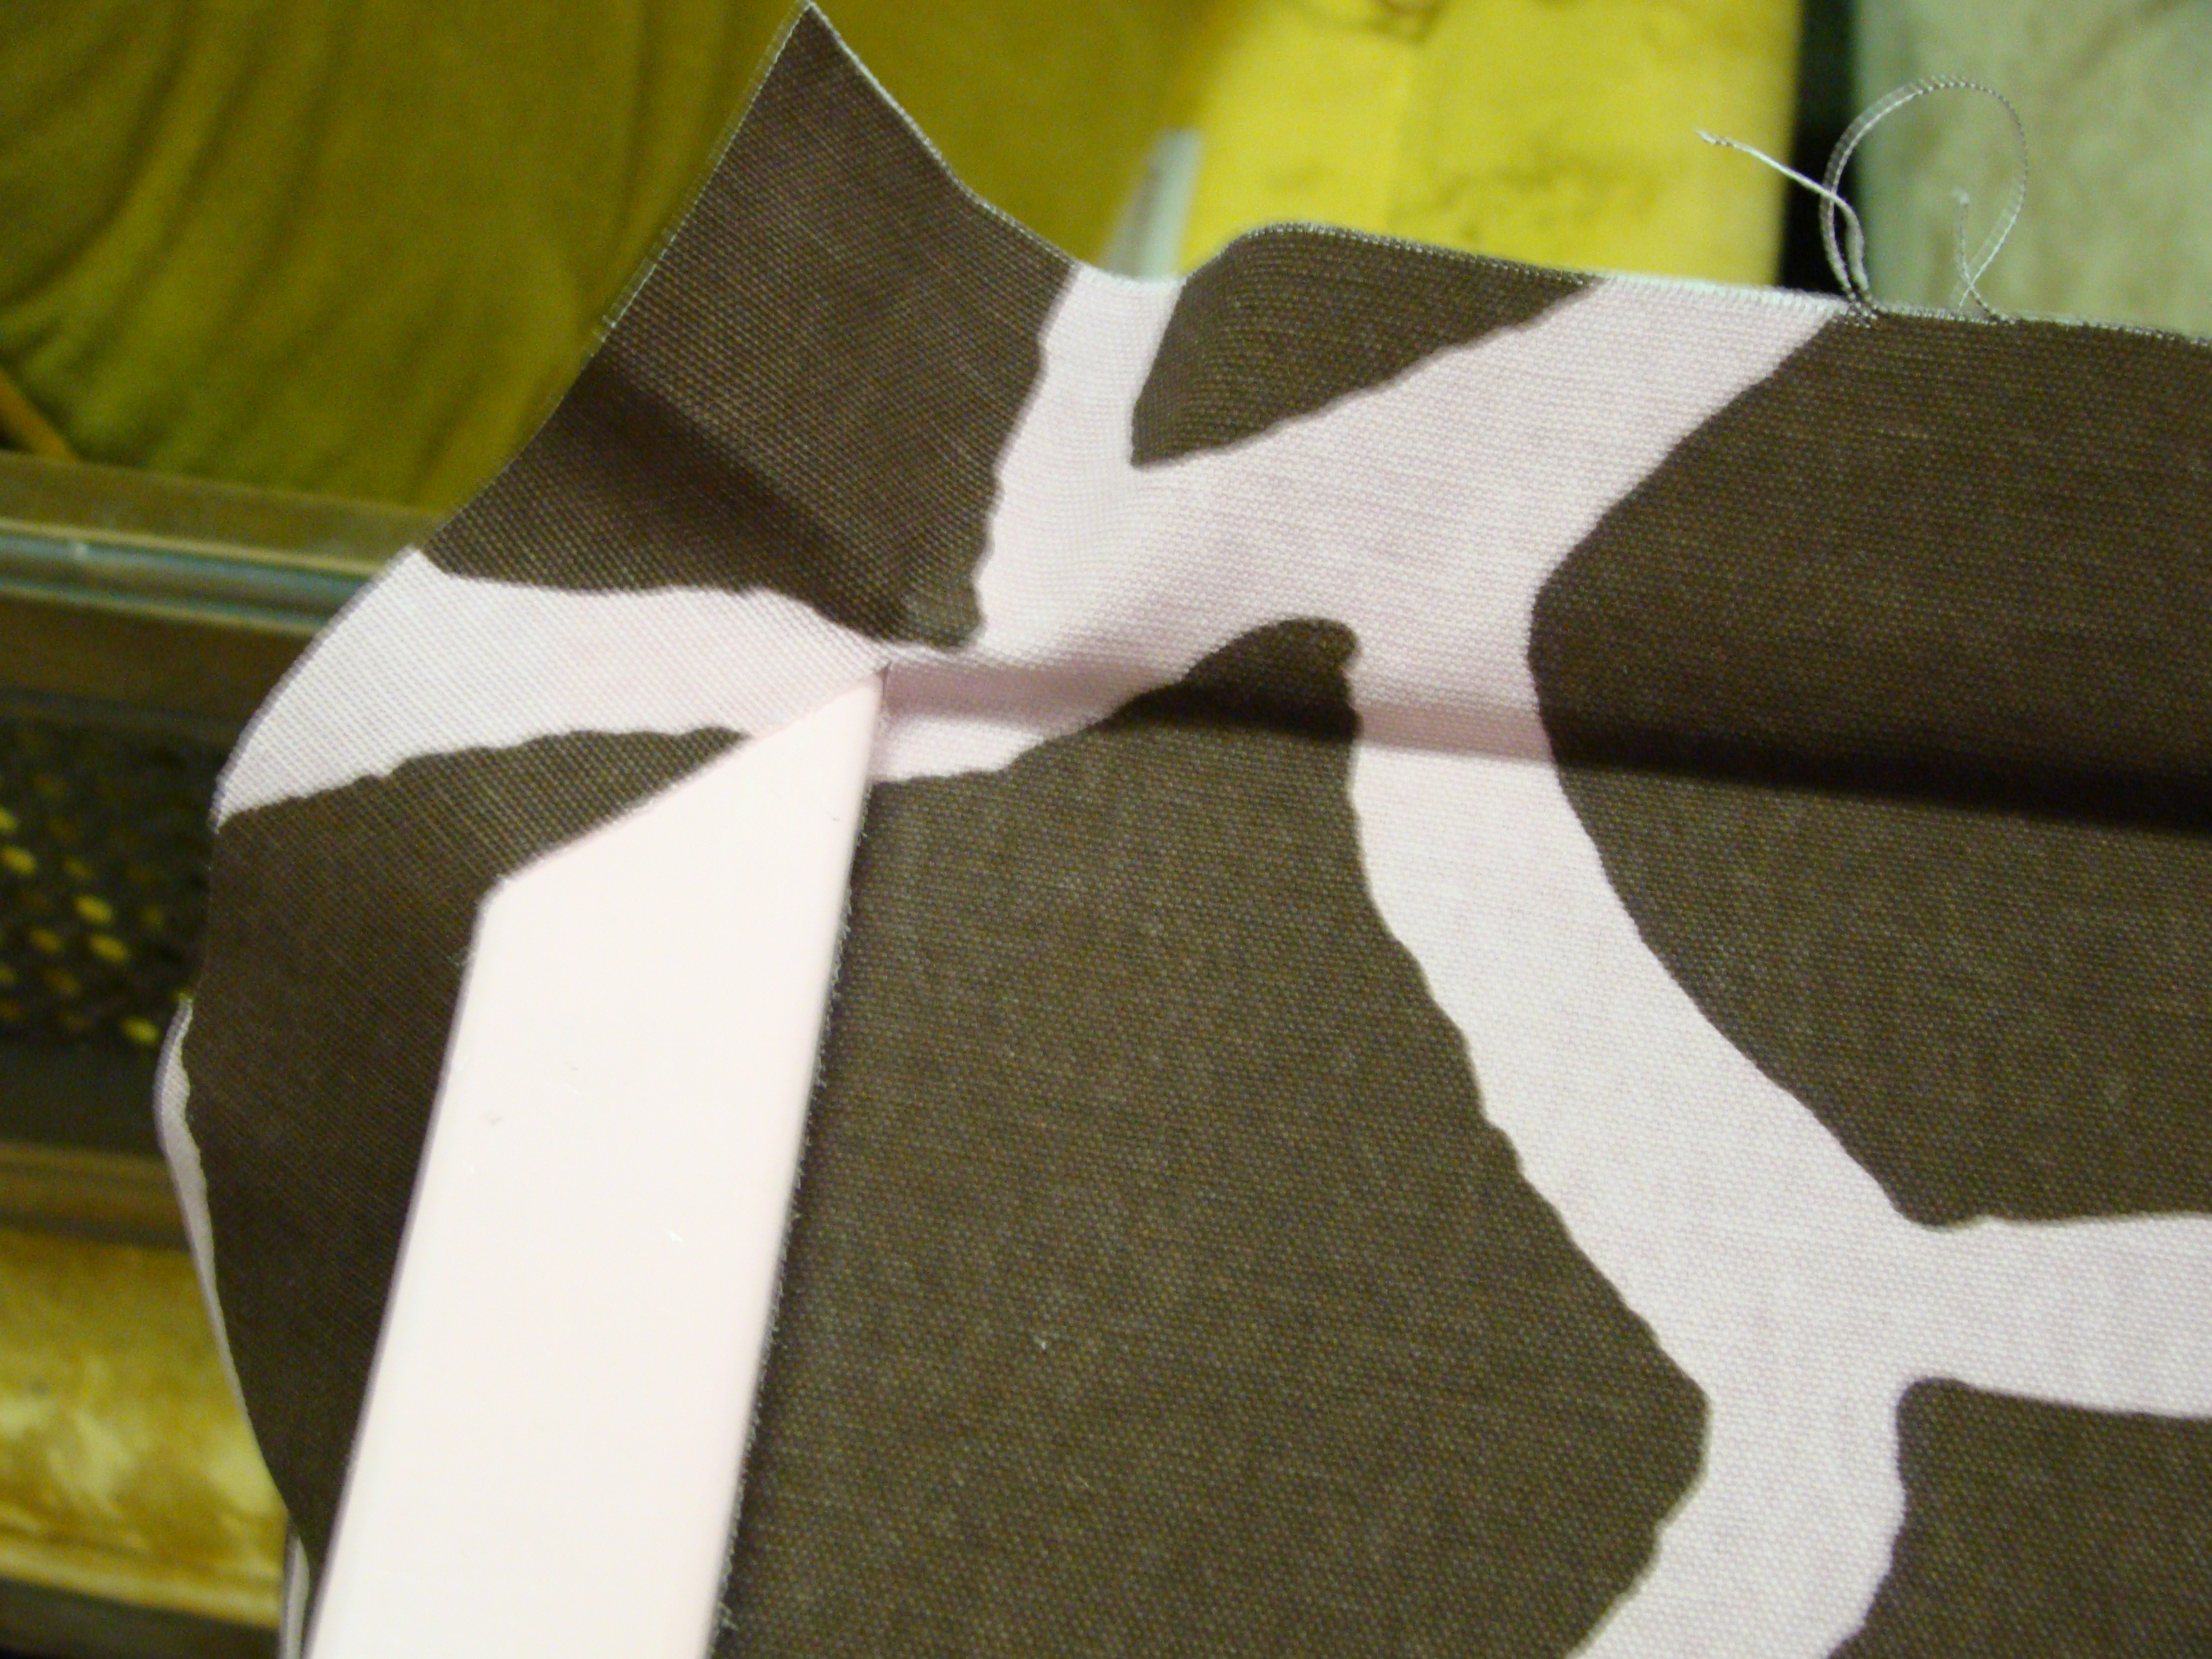
Next, I moved on to recreate the cork portion of the bulletin board. I could have just painted it, but it had a lot of holes in it, and what fun would that be? I wanted to cover it with a fun fabric, to add not only function to the room, but also a bit of beauty. I found a remnant of this pink and brown giraffe-print fabric at Goodwill for $3, and thought it would be perfect for this project.
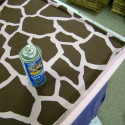
After cutting the fabric to the rough size of the bulletin board, I sprayed about half of the cork with spray adhesive, and smoothed the fabric down over the cork using a wide putty knife. Then I repeated that process with the other half of the board. If you have a smaller board, you could probably do it all in one shot, but with a larger board, the fabric gets a be unwieldy and I didn’t want to screw it up.
Now, be sure that if you use spray adhesive, you take the time to cover your floor, furniture, plants and pets to avoid getting any overspray on them. And, although I didn’t snap a picture of it, I also covered the pink frame of the board with newspaper before spraying the cork. I didn’t want any stickiness on the wood when I got done with this project.
After working the fabric into the edges and corners with the putty knife, I carefully cut the fabric along the edge of the wood frame. I was actually able to score the fabric with my putty knife, then cut it with my scissors to get a relatively straight edge. On some bulletin boards, you can tuck the edge of the fabric under the wood frame, which allows you a little “fudge factor” if your cut isn’t 100% straight. I couldn’t do that on this board, unfortunately, so I did my best to cut straight.
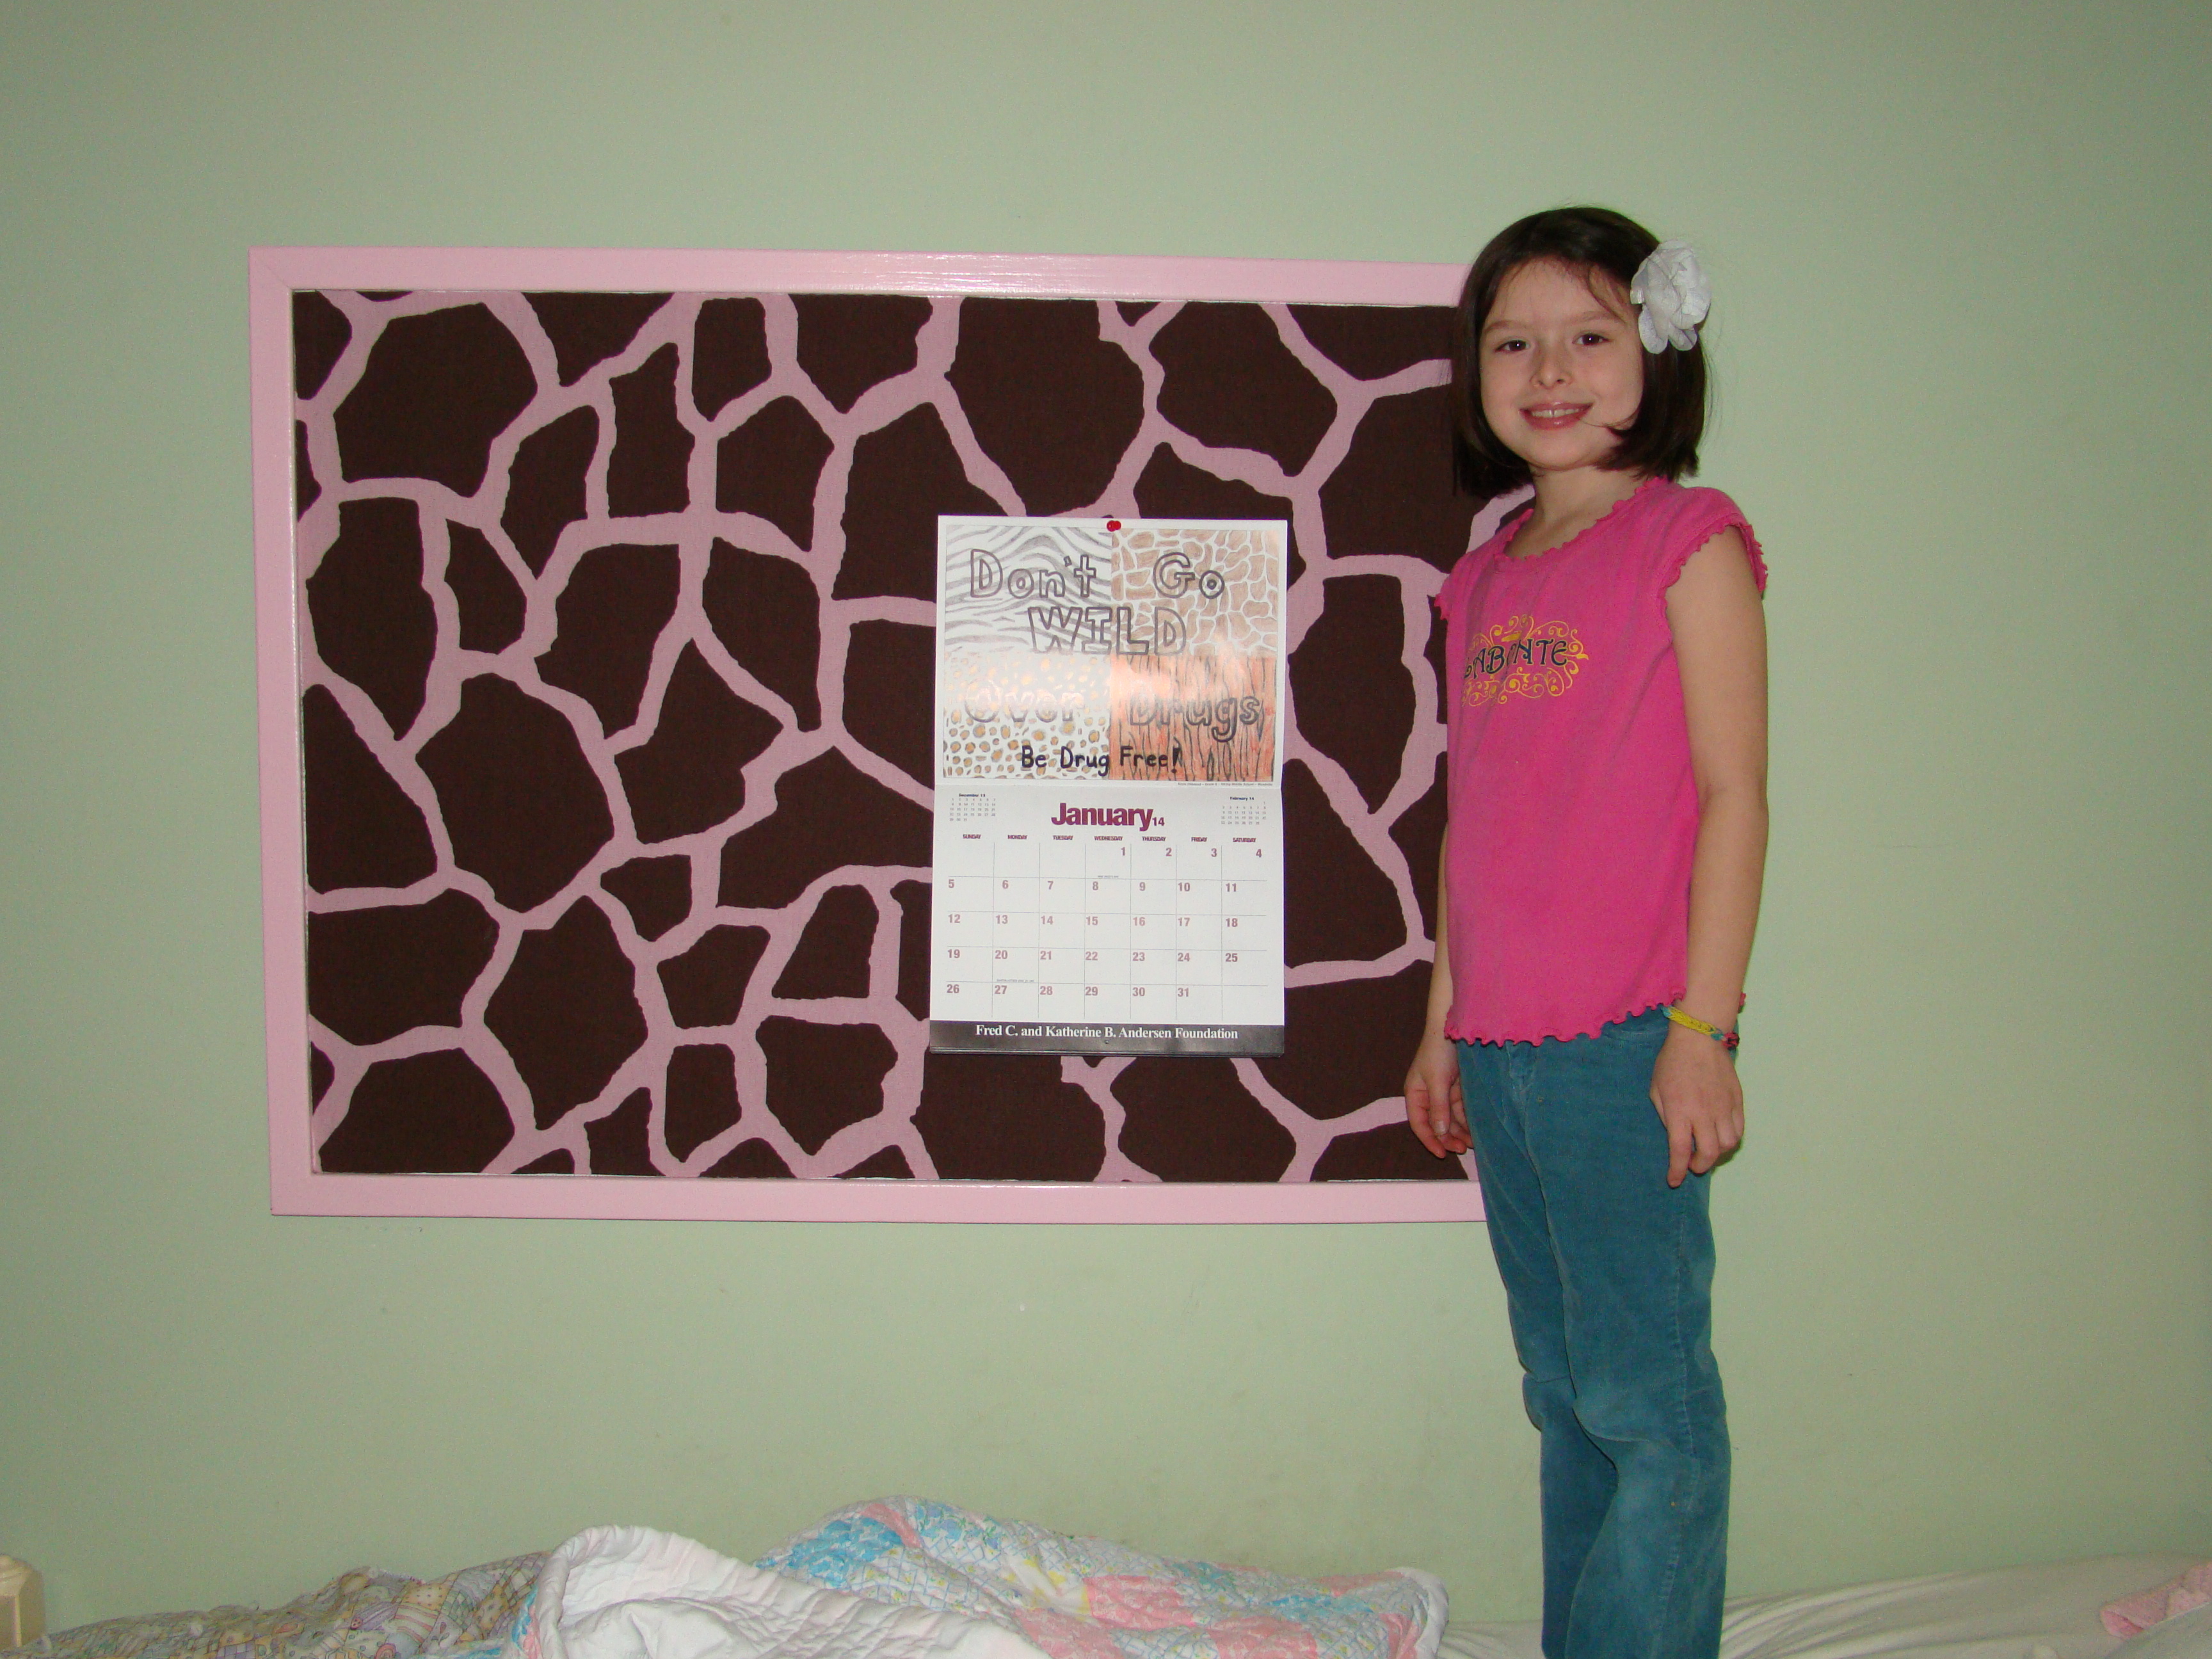
And, there you have it! The finished board. I love how it turned out!

And, so does my daughter. We gave it to her as a Christmas gift and installed it above her bed..she’s thrilled. And, so am I. 🙂